Creating presets
Presets are templates with predefined settings that allow you to quickly create sessions with the desired parameters. This is useful when you frequently use similar configurations or a specific set of start pages, bookmarks, and extensions—presets save time and simplify your work.
Where to find presets
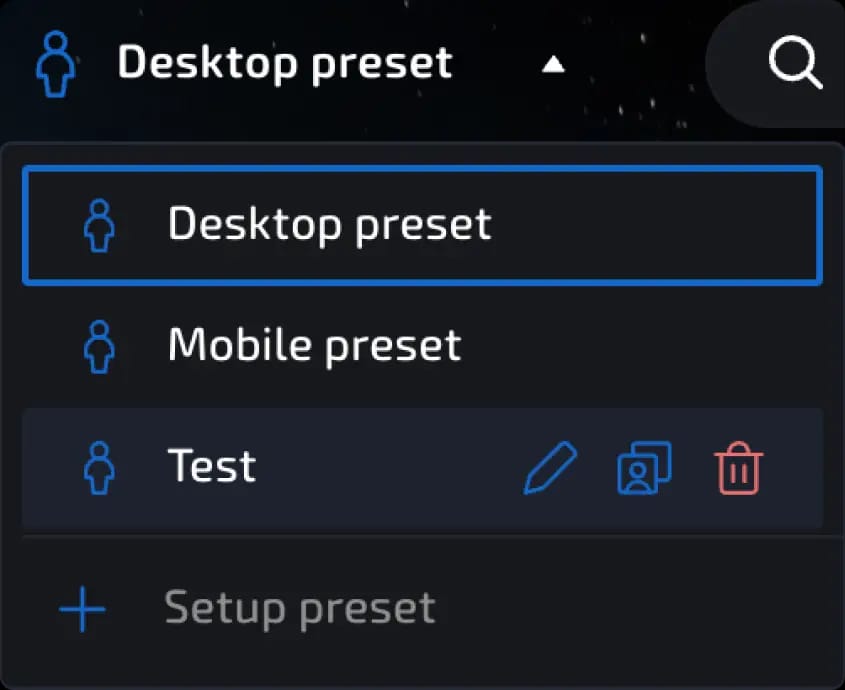
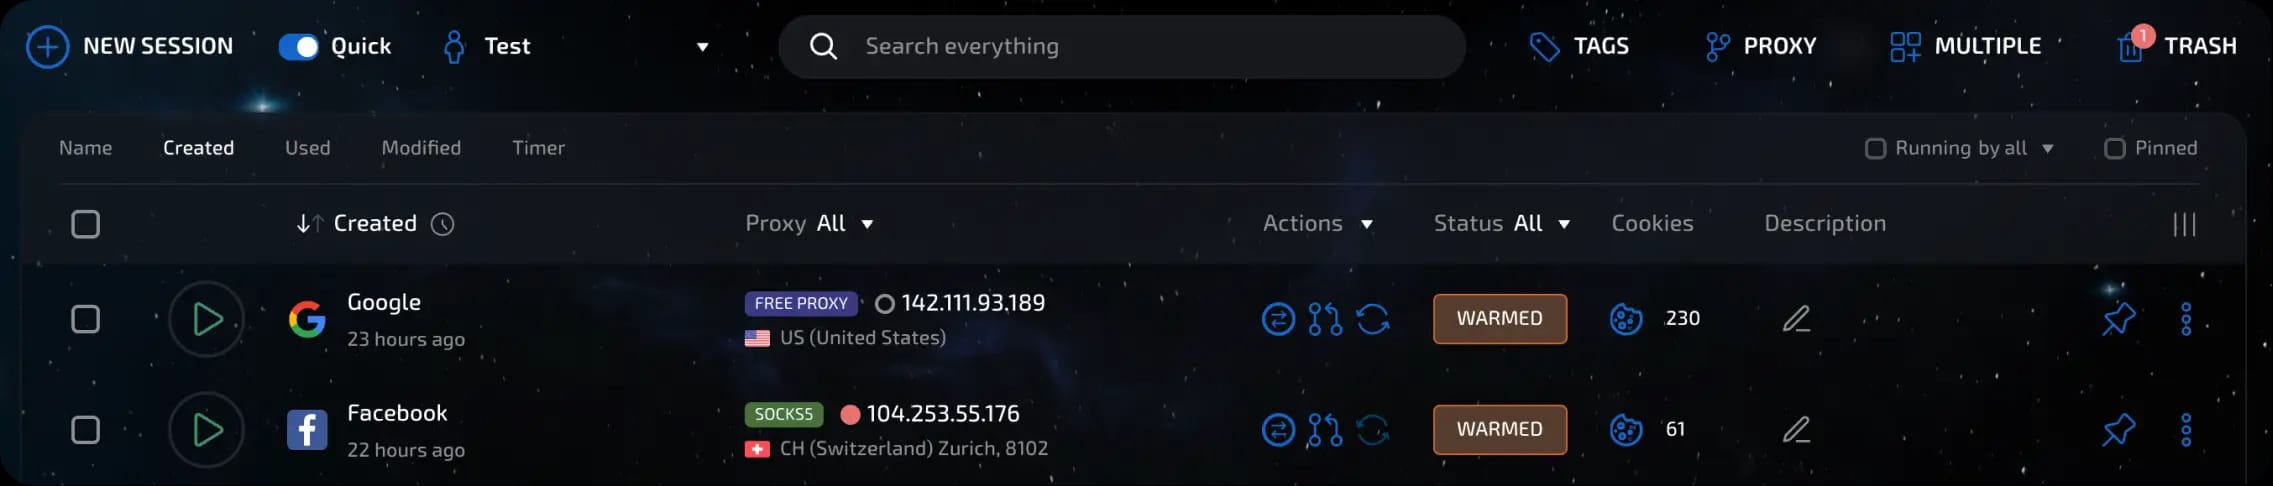
To the left of the search bar in the interface is the "Presets" button. Clicking on it will take you to the preset management section.
invisible text for space
Here you can:
create a new preset;
edit existing ones;
delete unnecessary ones;
use ready-made templates (e.g., Desktop or Mobile).
How to create a new preset
Click "Create Preset."
Enter a name for the preset (for example, Tablet Preset).
Set the necessary configuration settings, fingerprints, start pages, bookmarks, extensions, etc.
Connection settings
Select the proxy type: SOCKS5, HTTP(S), Proxy List, or others;
Location selection is only available when using connection types such as Sphere proxy and Free proxy. Sphere Proxy - you can select a country and city/region (the Random option is available for both criteria). Free Proxy - you can select a country (the Random option is available);
Changing DNS settings is not recommended, but this option is available.
When configuring WEBRTC, if you are using SOCKS5/HTTP/localhost proxy, you can specify a change ip URL. SOCKS5/HTTP has an optional Live mode (for working with dynamic proxies that change their IP address on a timer)
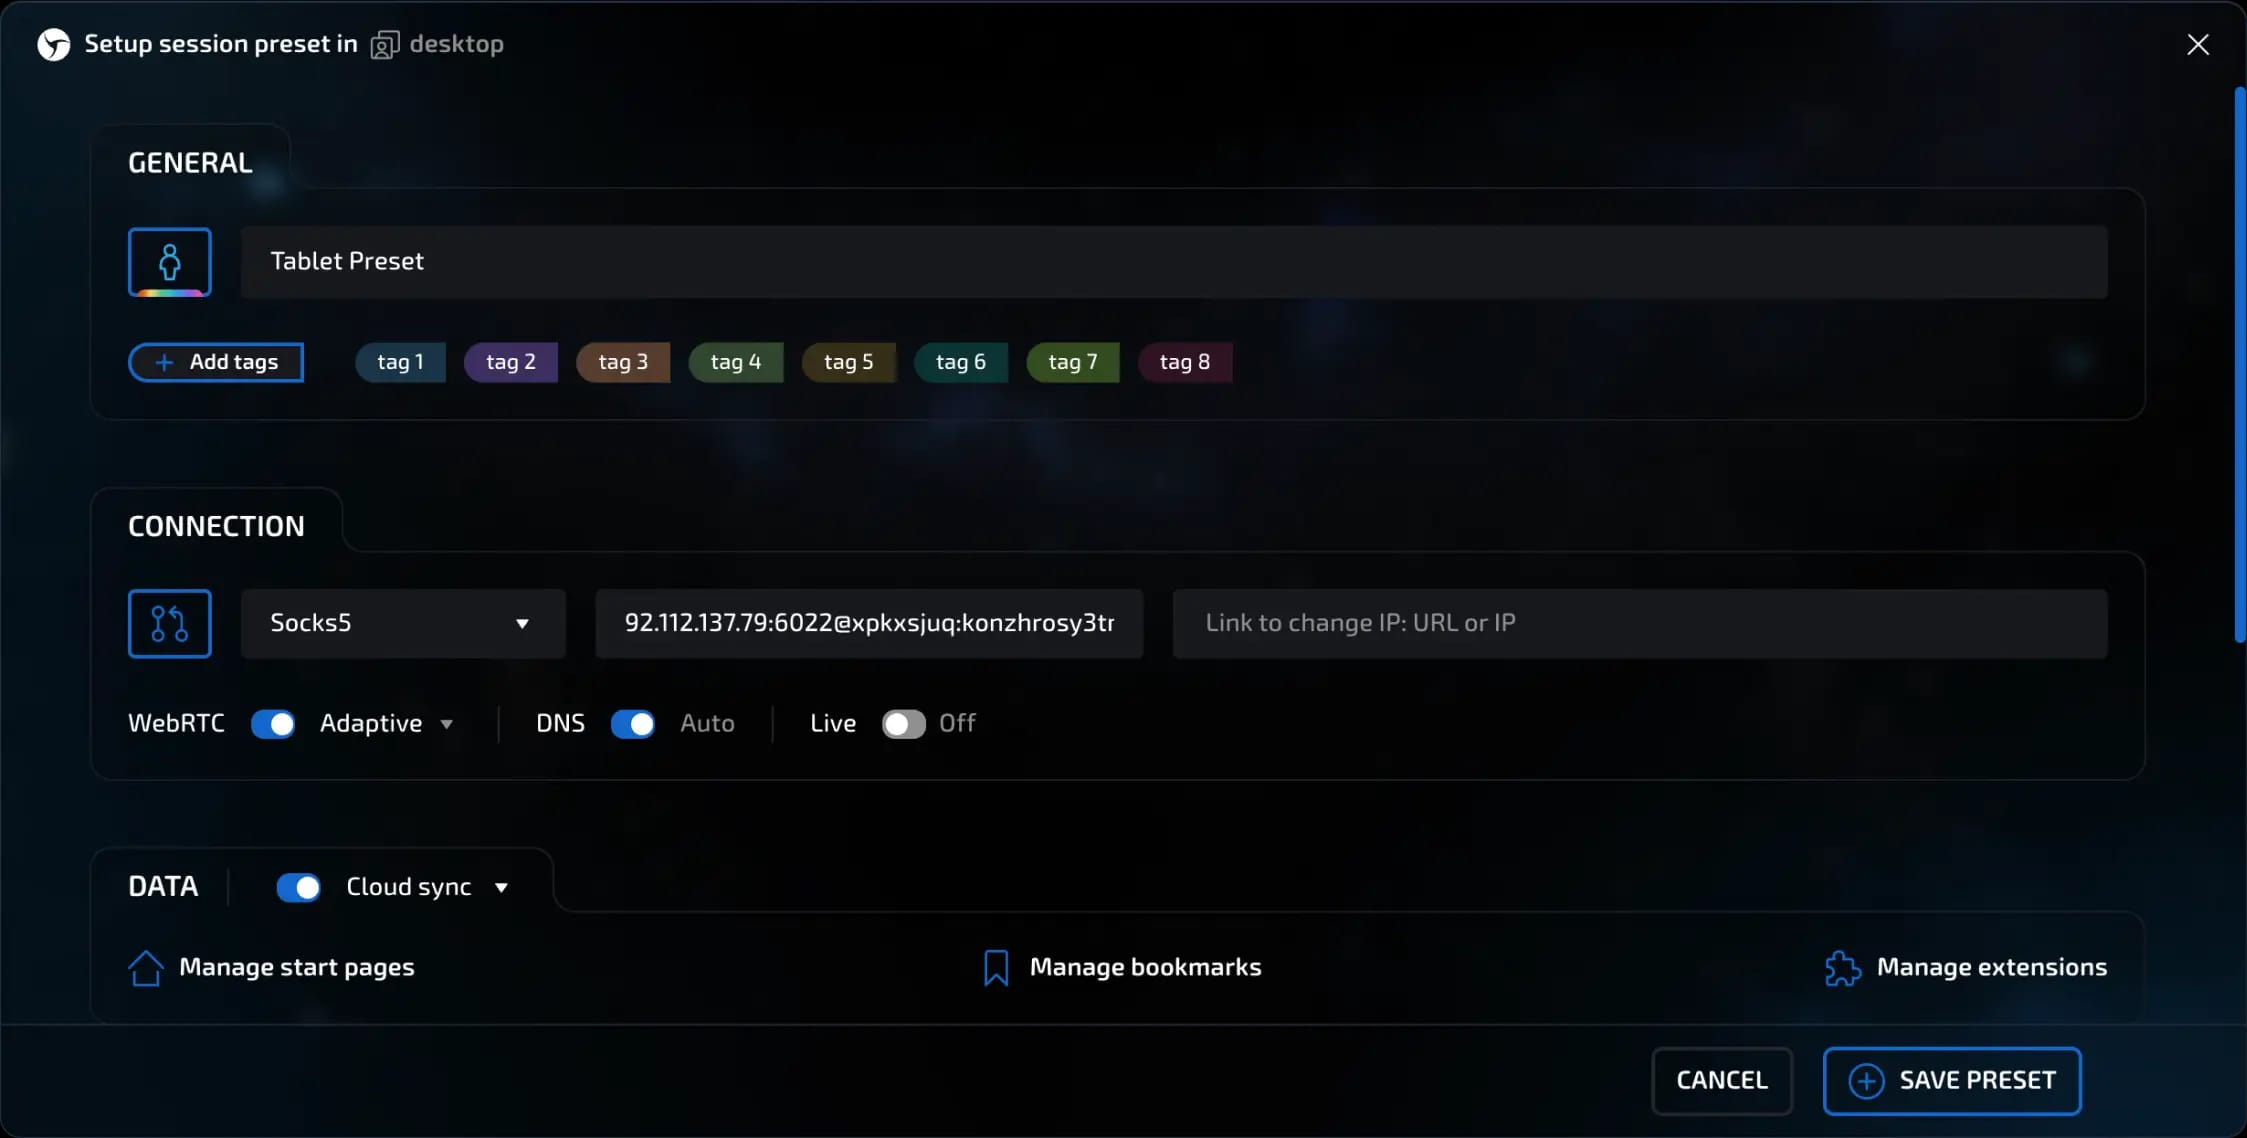
Synchronization
Choose where the data will be stored:
Cloud - data will be stored on the server;
Locally - everything is stored on your computer.
You can also configure which parameters will be synchronized separately.
Start pages, bookmarks, and extensions
Specify start pages - manually or by list;
Import bookmarks or add the ones you need;
Connect extensions (for example, for working with email or anti-captcha).

Fingerprint settings
Select the type of device: PC, tablet, phone;
Set the OS (for example, a random version of Android or iOS);
Select the browser version (the latest is selected by default);
Enable the Do Not Track option if necessary.

Selecting a proxy list and configuration pool
When creating a preset, you can:
Link a proxy list - proxies from it will be automatically substituted when creating new sessions. This is convenient for mass generation when you don't need to manually specify a proxy for each session.
invisible text for space
How do you do this?
Go to preset creation
Click on the Proxy Manager icon (to the left of the connection type selection menu) or select the Proxy List connection type.
Select the desired connections individually or in bulk and save your changes.
Click the "Create" button.
invisible text for space
When using Proxy List, each session created will use the next connection from the list until they are finished, after which you will receive a notification that the list is empty, and the sessions being created will use the "Not set" connection type. This will continue until you select new proxies in the preset settings.
invisible text for space
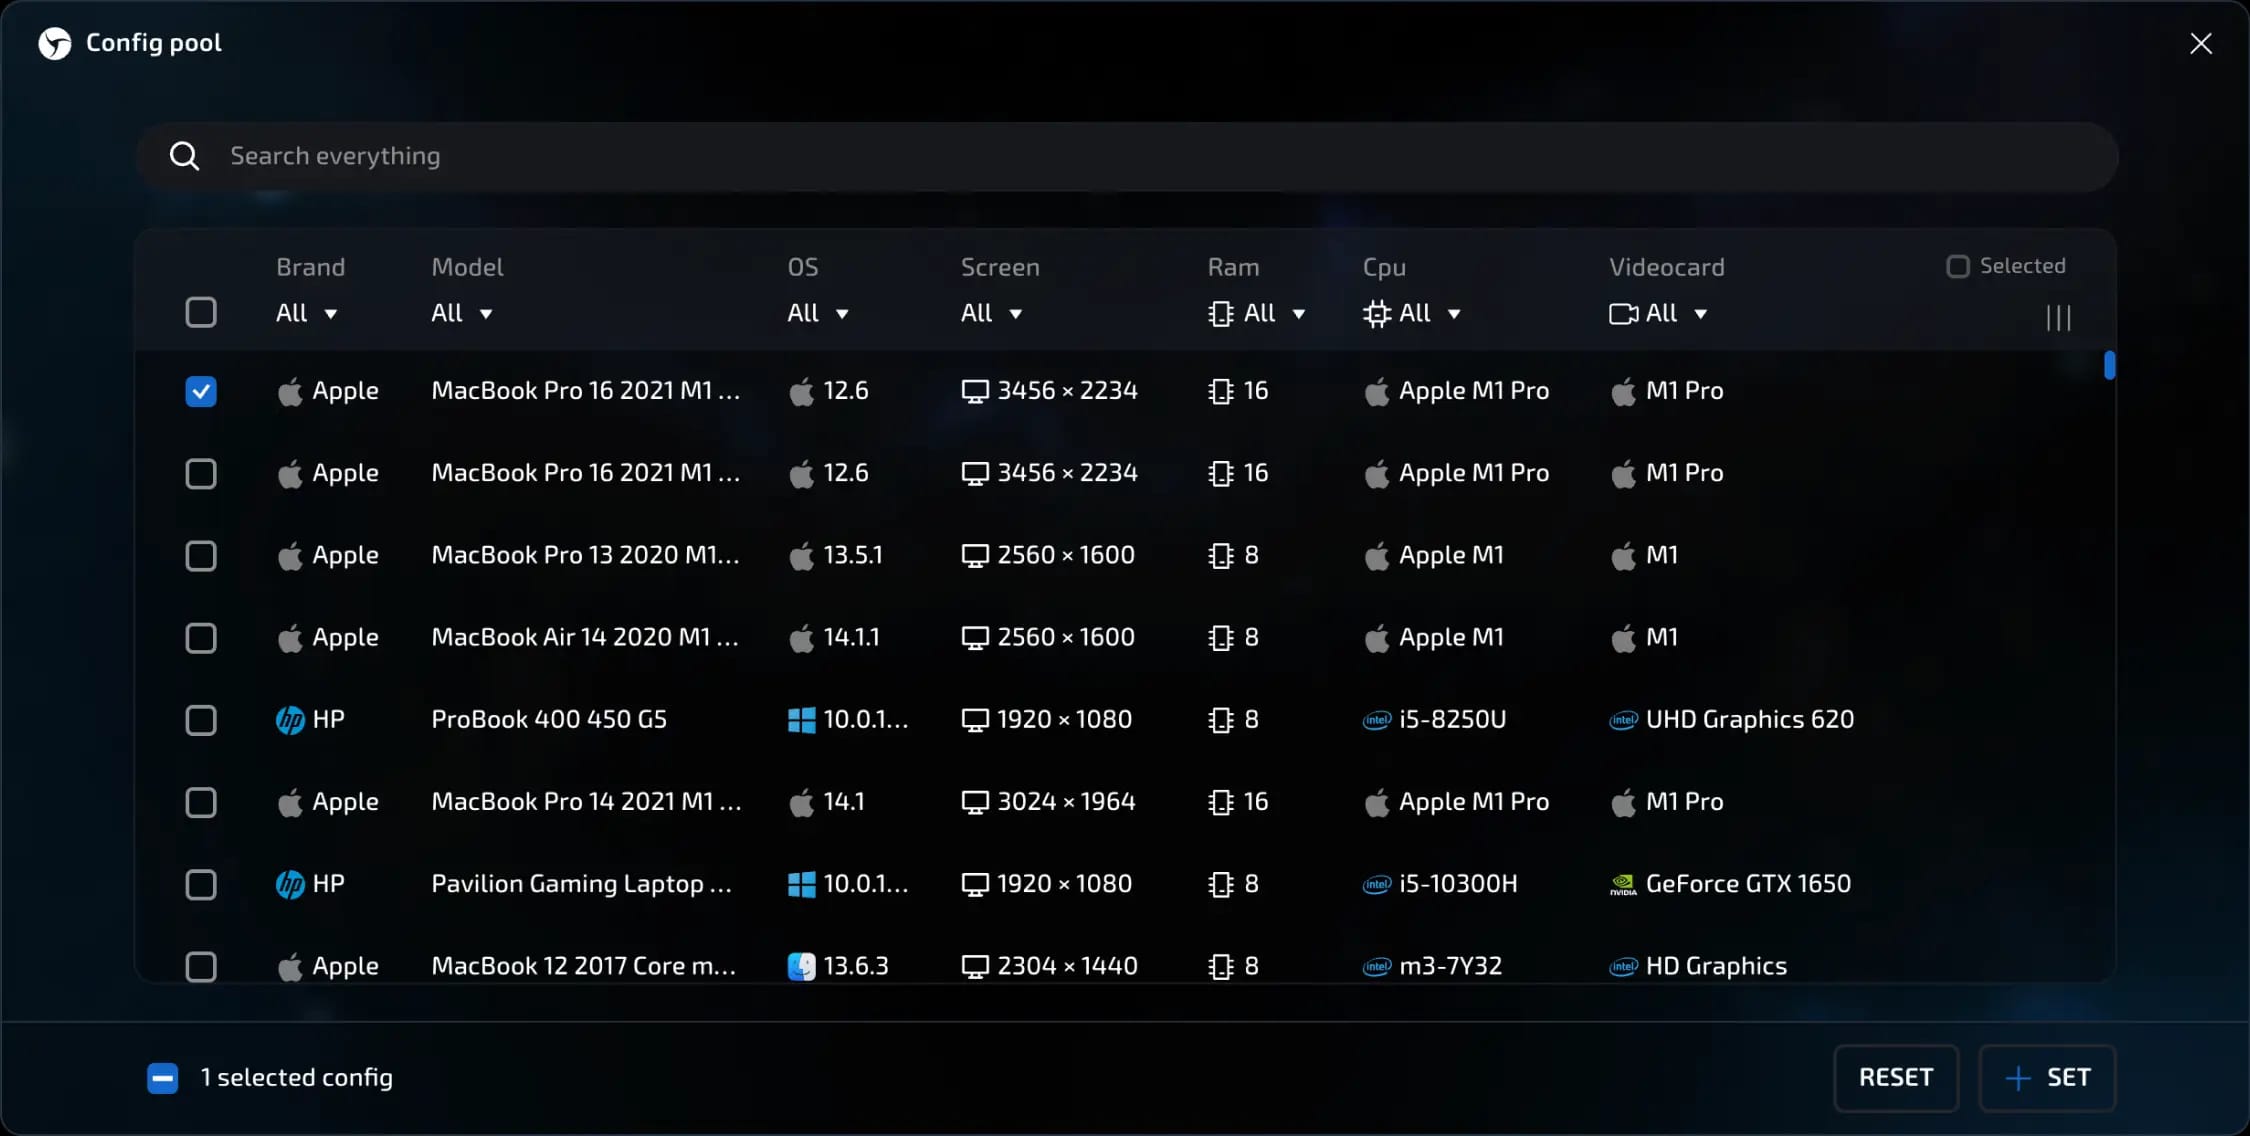
Link configuration pool - allows you to create and use sessions with real device configurations. In this anti-detection mode, all parameters are taken from the config (except for Canvas, WebGL, ClientRects, Audio - they are generated and controlled by the sliders at the bottom). When using a list of configurations from the pool, each session created will use the next configuration from the list until they are finished, after which you will receive a notification that the list is empty, and the creation of new sessions will be unavailable until you select new configurations in the preset settings. This increases uniqueness and reduces the likelihood of repeats.
Saving and managing presets
When everything is set up, click "Save Preset."
It will then appear in the list. With it, you can:
create new sessions;
clone - convenient when working with similar options;
delete it - existing sessions using this preset will remain unchanged.
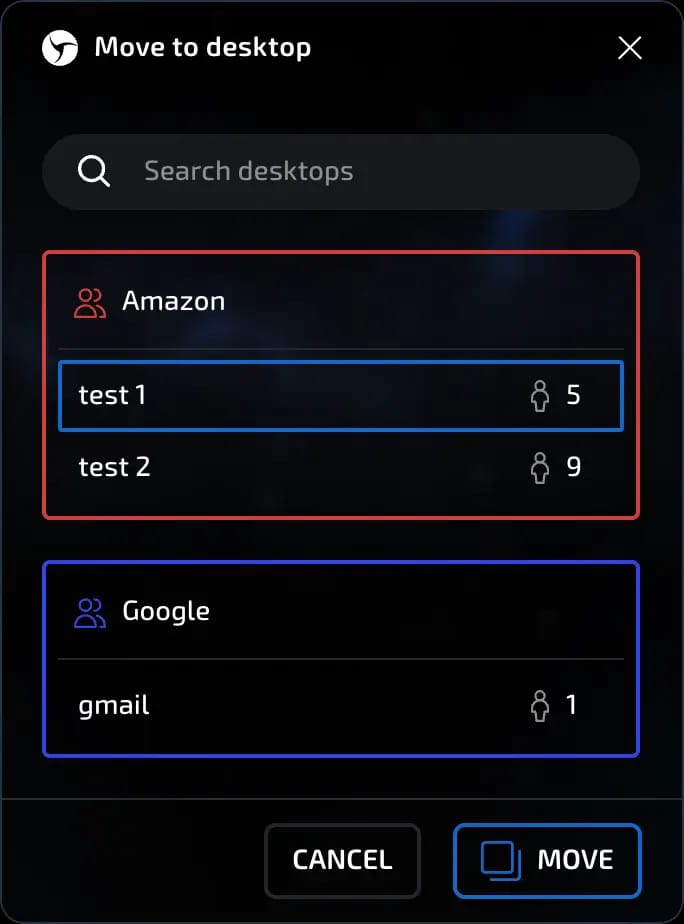
Copying presets between desktops
If you work with multiple desktops (for example, for different projects), you can copy a created preset from one desktop to another. To do this:
Open the list of presets on the desired desktop;
Hover your cursor over the desired preset and click "Clone";
In the window that appears, select the desired workspace and confirm the action.
Using a preset
Option 1: Manual creation
Click "New Session."
Select the desired preset.
All parameters will be pulled up automatically.
Click "Create" - the session will be created.

Option 2: Quick creation
Activate the "Quick creation" checkbox.
Click "New session" - the session will be created automatically.
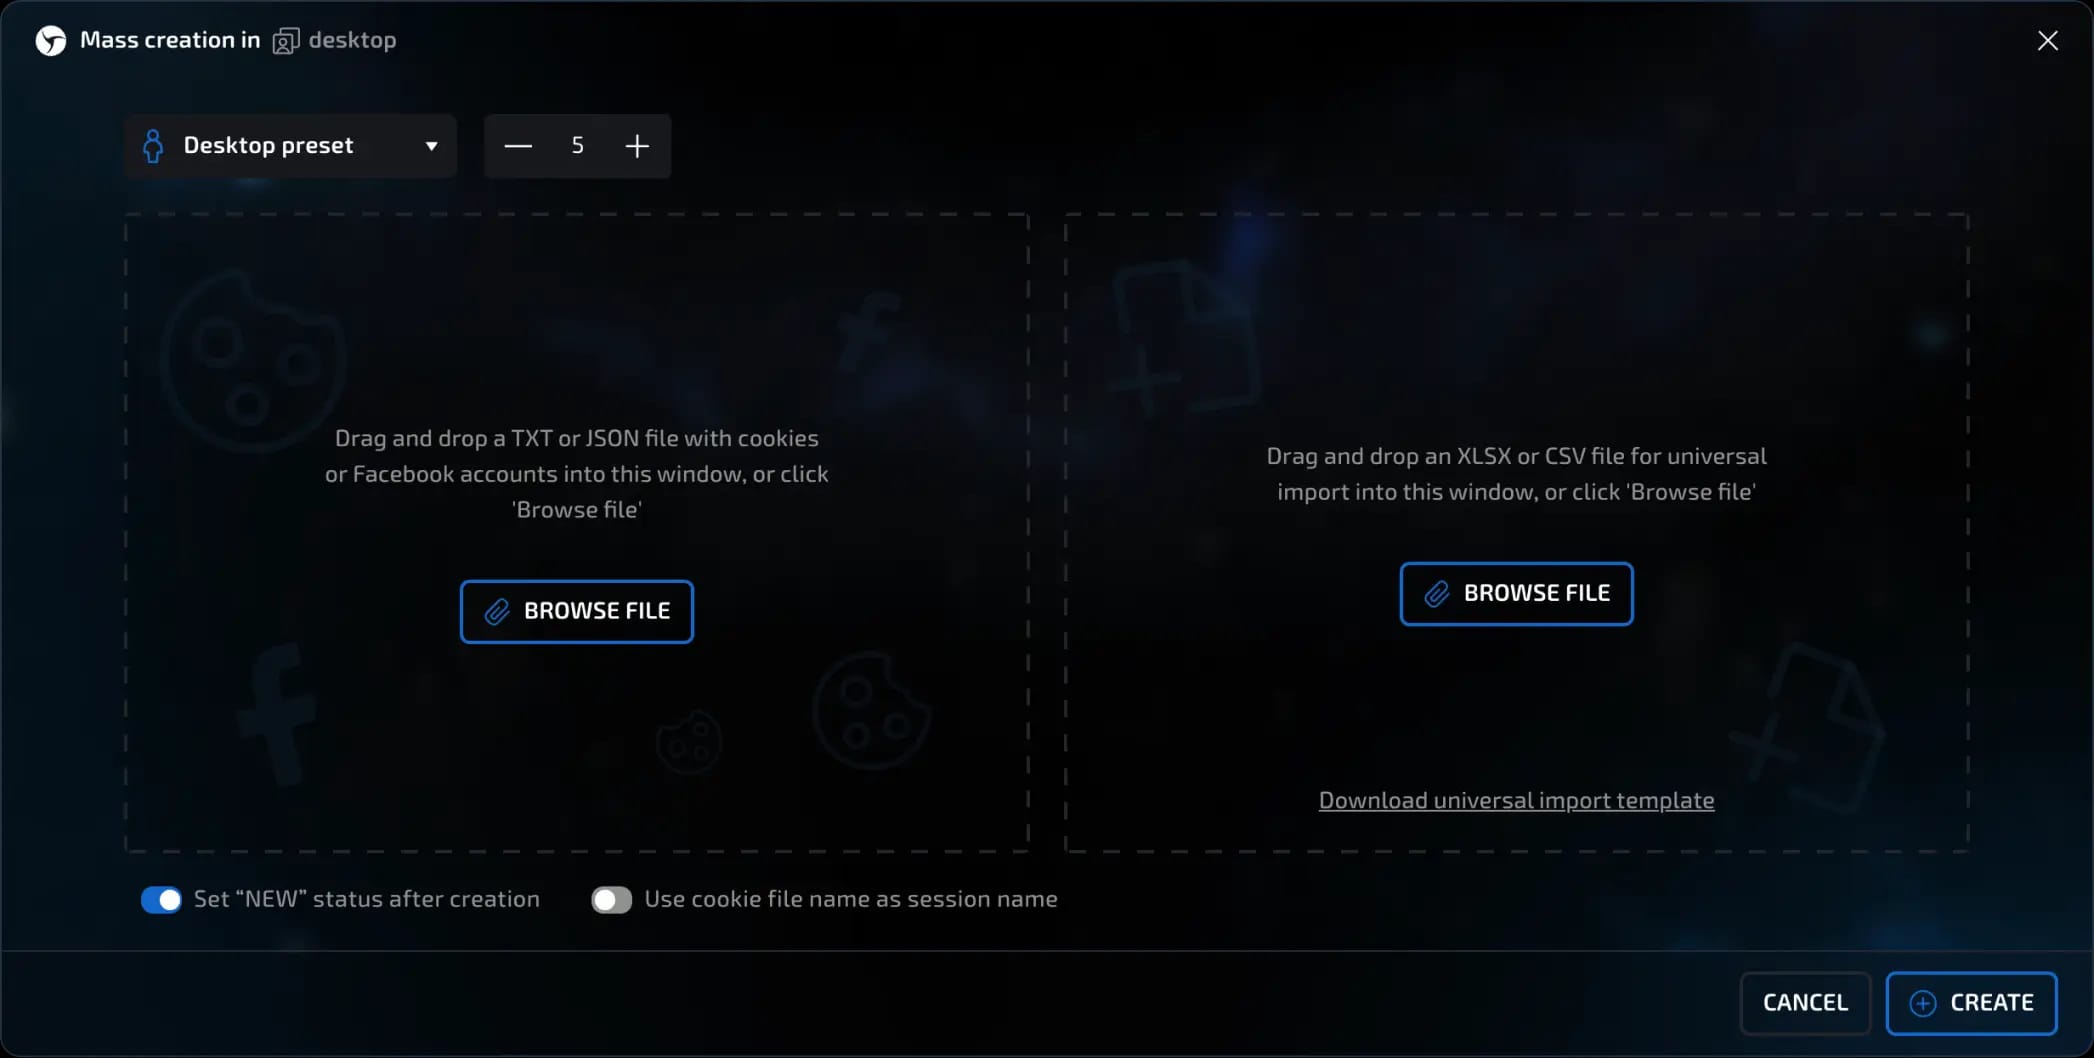
Option 3: Bulk creation
Click "Bulk creation."
Specify the desired number of sessions (for example, 10).
If necessary, upload files with cookies.
Select the options:
"New sessions";
"File name - in session name."
Click "Create" and all sessions will appear on the desktop.
Additional features
Copying presets between desktops simplifies template management when working with multiple projects.
Deleting a preset does not affect sessions that have already been created. All previously created sessions retain their settings.
Each new session defaults to the parameters of the selected preset. This speeds up creation and standardizes work.
invisible text for space
Result
Sessions are created quickly and with the desired configuration;
Tags, proxies, thumbnails, and start pages are set;
Work becomes faster and more convenient.
Previous page
Next page